A Practical Guide to Leak-Proof Roofing Solutions
1. Safety First – Assess Before You Ascend
Before climbing onto your roof, conduct a thorough safety evaluation. During Boise’s unpredictable spring weather patterns, roofs can become slippery from morning dew or sudden afternoon showers that roll off the Foothills. Check weather forecasts and choose a clear, calm day with temperatures between 50 and 85 degrees Fahrenheit for optimal working conditions.
Gather proper safety equipment including a sturdy ladder rated for your weight plus 25%, non-slip rubber-soled shoes, a safety harness with proper anchor points, and work gloves. Never work alone. Have someone on the ground to assist with tools and respond to emergencies. Inspect your ladder for damage, ensure it extends at least three feet above the roof edge, and position it at a 75-degree angle against the structure.
If your roof pitch exceeds 6:12 (meaning it rises 6 inches for every 12 inches of horizontal distance), has multiple stories, or shows extensive damage, professional intervention becomes necessary. Some situations simply exceed safe DIY boundaries and require licensed contractors with proper insurance and fall protection systems.
2. Locate the Source of the Leak
Water rarely travels in a straight line through your roofing system. The interior ceiling stain may appear in your living room, but the actual entry point could be several feet upslope. Water follows the path of least resistance along rafters, sheathing, and insulation before dripping into your living space.
Begin your investigation inside the attic during daylight hours. Look for water stains, dark spots, or mold growth on the underside of the roof decking. Trace these marks upward and toward the roof peak to identify potential entry points. Small pinpoints of daylight penetrating through the roof deck indicate holes or gaps that require immediate attention.
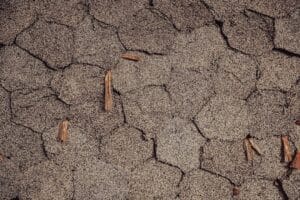
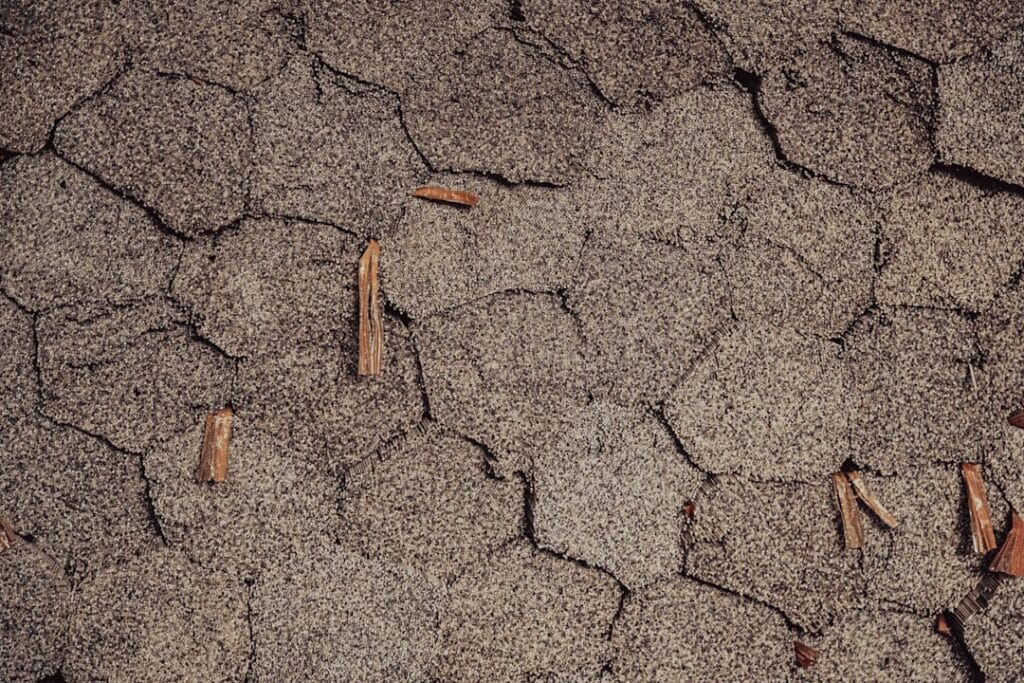
On the exterior, focus on vulnerable areas where leaks commonly develop. Examine flashing around chimneys, skylights, and vent pipes for gaps, rust, or separation. Check valleys where two roof planes meet, as debris accumulation in these channels can dam water during Boise’s occasional heavy rainstorms. Inspect shingles for cracks, curling edges, missing granules, or complete absence. Pay special attention to areas with moss growth, which can lift shingles and trap moisture underneath. Measure the distance from a fixed reference point like a chimney or roof edge to help you locate the exact spot when making repairs.
3. Gather the Right Tools and Materials
Having the correct materials before starting prevents multiple trips up and down the ladder while maintaining workflow efficiency. Your material list will vary based on the type of damage, but certain items remain essential for most residential applications.
For shingle repairs, purchase replacement shingles that match your existing roof in color, style, and manufacturer. Bring a sample or detailed photo to local building supply stores to ensure proper matching. Architectural shingles differ from three-tab shingles in installation method and appearance. You will also need roofing nails (typically 1.25 inches for standard shingles), a flat pry bar for removing damaged shingles, a utility knife with hook blades, roofing cement or sealant, and a caulking gun.
For flashing repairs, acquire galvanized metal flashing material, tin snips for cutting, and high-quality roofing sealant designed for metal-to-shingle applications. When addressing small holes or cracks, roofing patch fabric and elastomeric roof coating provide durable solutions. A hammer, tape measure, chalk line, and straight edge complete your basic toolkit.
Weather-appropriate materials matter in Idaho’s climate extremes. Select sealants and adhesives rated for temperature ranges experienced locally, from winter lows near zero to summer highs approaching 100 degrees. Cold-weather formulas remain pliable during cooler months, while heat-resistant options prevent melting and running during summer installations.
4. Remove Damaged Shingles Carefully
Shingle removal requires patience and precision to avoid damaging surrounding materials. Asphalt shingles become brittle in cold weather and soft in extreme heat, so mid-morning or late afternoon during moderate temperatures provides ideal working conditions.
Start by carefully lifting the edges of shingles in the row above the damaged section. Use your flat pry bar to gently break the sealant bond between layers. Asphalt shingles feature a tar strip that bonds them to the shingle below, creating wind resistance. This bond strengthens over time and requires deliberate effort to separate without tearing.
Once you expose the nails holding the damaged shingle, slide the pry bar under the shingle and position it directly beneath each nail head. Lift gradually to extract the nail. Most shingles use four to six nails, though high-wind areas may have additional fasteners. Remove nails from both the damaged shingle and the overlapping shingle above it. Work methodically to avoid creating additional tears or breaks in surrounding materials.
After removing all fasteners, slide the damaged shingle out from under the upper course. If the shingle resists, check for additional nails or sealant bonds you may have missed. Inspect the underlayment (felt paper or synthetic material) beneath for tears or deterioration. Small underlayment damage can be patched with roofing cement, but extensive deterioration signals deeper problems requiring professional evaluation. For situations involving structural concerns or extensive damage across multiple sections, professional roof repair services ensure proper system restoration and warranty protection.
5. Install New Shingles with Precision
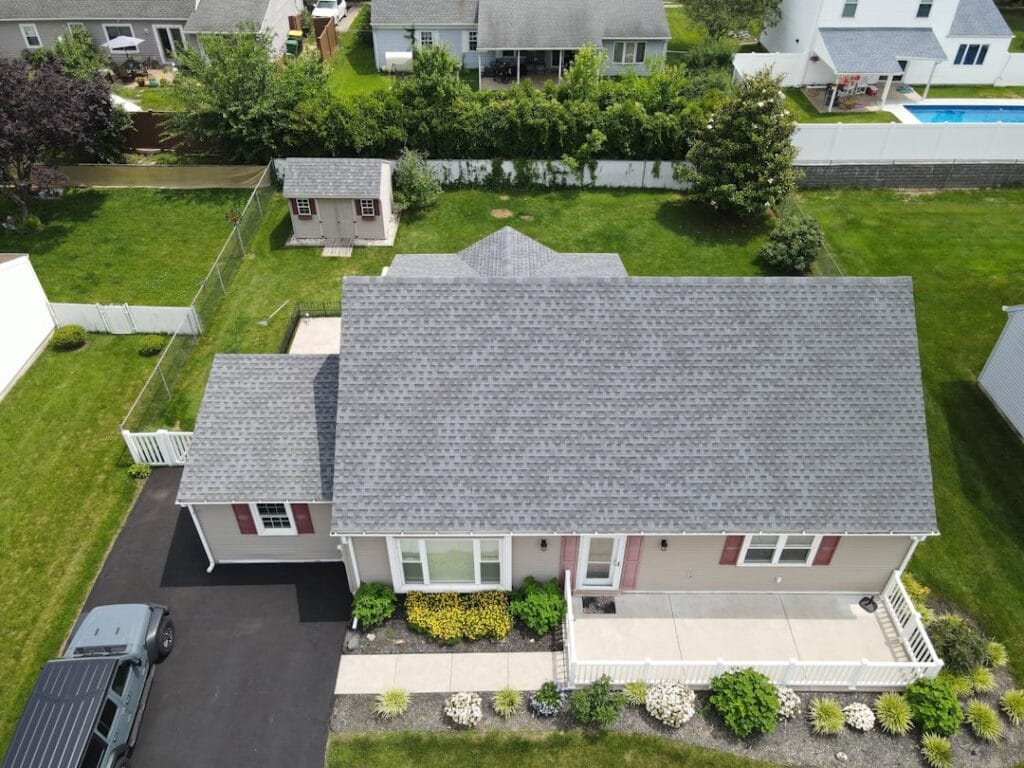
Proper shingle installation creates a watertight seal that withstands weather conditions for years. Begin by sliding the new shingle into position under the overlapping course above, aligning it with adjacent shingles to maintain consistent reveal (the exposed portion of each shingle). Standard three-tab shingles show 5 inches of exposure, while architectural shingles vary by manufacturer specifications.
Secure the shingle with roofing nails placed according to manufacturer guidelines, typically positioned just below the sealant strip and approximately one inch from each edge. Drive nails straight and flush with the shingle surface. Overdriving creates dimples that collect water and compromise the seal, while underdriving leaves nail heads exposed to catch wind. Space intermediate nails evenly across the shingle width, usually at 6-inch intervals for standard applications.
After fastening the replacement shingle, apply a quarter-sized dollop of roofing cement under the tabs of the overlapping shingle above. Press firmly to create adhesion and restore the waterproof seal. Similarly, apply sealant to the edges where the new shingle meets its neighbors, creating continuous weather protection.
For architectural or dimensional shingles, follow the specific layering pattern established by surrounding shingles. These products feature varied tab sizes and shadow lines that must align properly to maintain visual continuity and functional overlap. Misaligned installations create channels where wind-driven rain can penetrate.
Temperature affects installation success significantly. Sealant strips activate through solar heat, bonding shingles together within days of installation during warm weather. Cold-weather installations may require manual sealing with roofing cement, as sealant strips remain inactive until temperatures consistently exceed 60 degrees. Summer installations in Boise, where temperatures frequently reach the 90s, cause shingles to become pliable and easier to work with, but also increase the risk of surface damage from foot traffic.